Hello everyone,
After establishing the tools we are going to use, we need to deploy and configure them correctly in order to present the attack methodology to be carried out.
Hypervisor
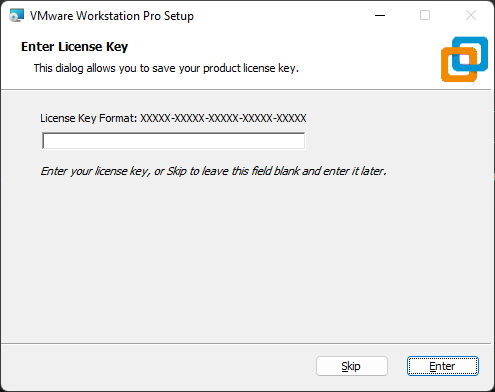
The hypervisor to use is very easy to install, VMWare Workstation in version 17.0.0 build-20800274. The installer is executed and at the end of the process a serial is requested.
If no serial is entered, it can be used on a 30-day trial basis.
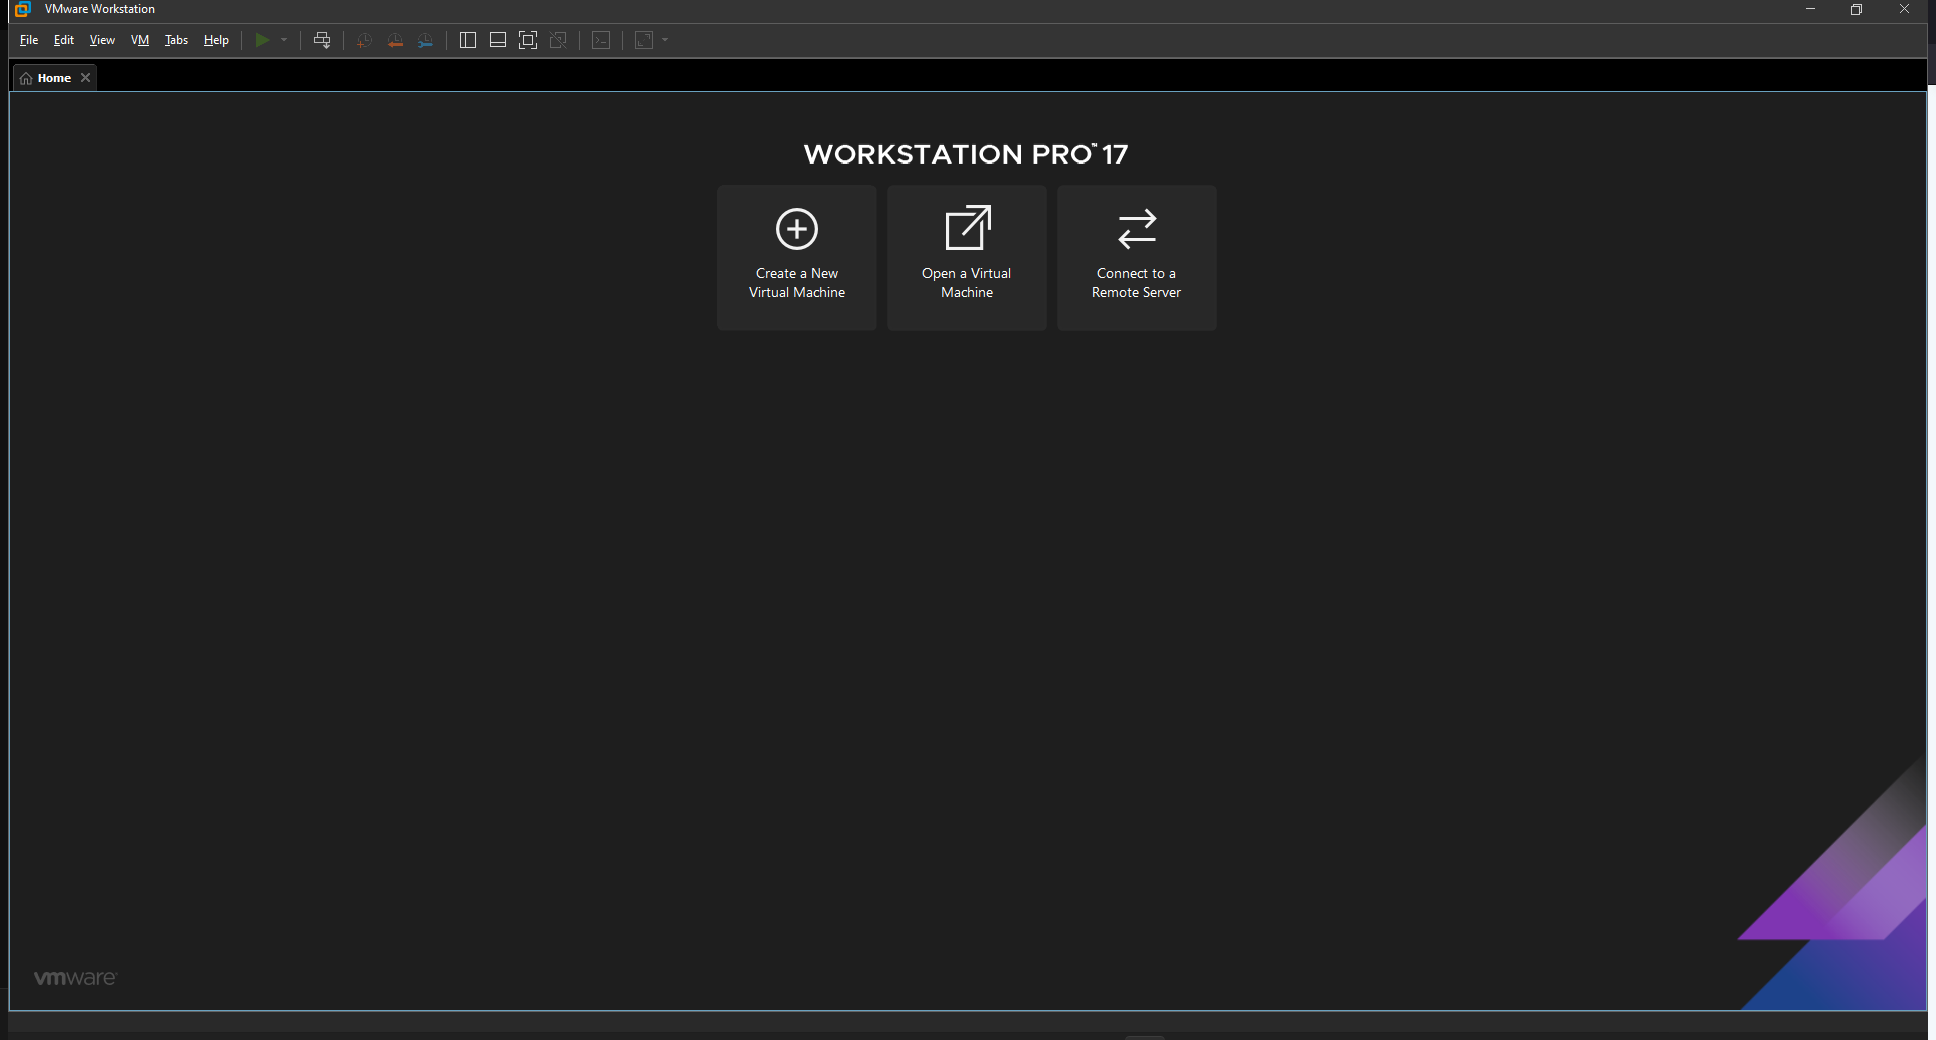
Once installed you can run the program and it will look something like this:
Vulnerable environment
As mentioned in the previous post, it is possible to deploy Detection Lab using the deployment instructions.
In our case it has not been possible to deploy DetectionLab and we have deployed and configured the different machines manually:
Windows Server 2016
With the ISO image downloaded, we will proceed to create a machine with the following characteristics:
- 2 GB of RAM.
- 2 processors, with one core per processor.
- 60 GB hard disk.
- NAT network adapter, with 192.168.140.X range.
The AD configuration carried out was as follows:
- Changing the name of the equipment to “DC-AD”.
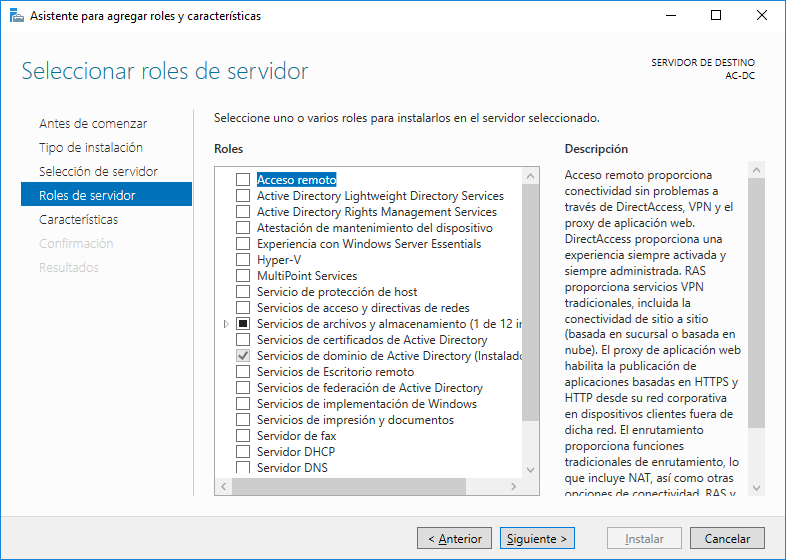
- Configuration of the roles, AD features and activation of the AD domain services.
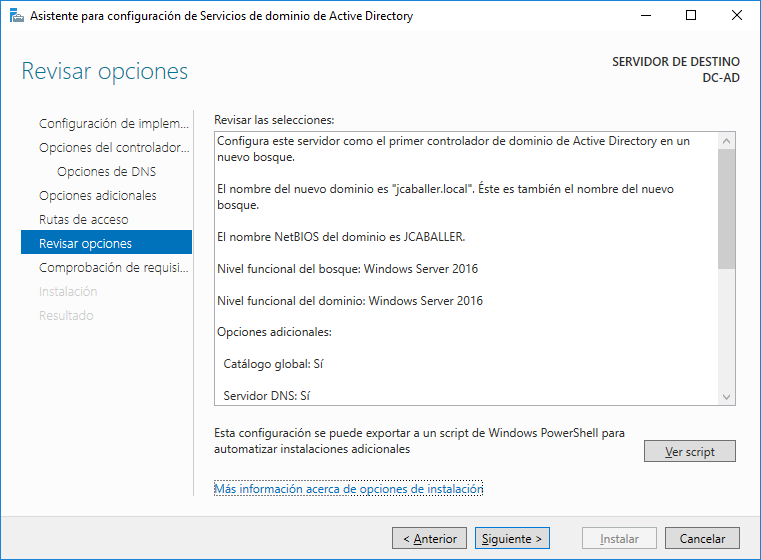
- Promotion of the server to domain controller, which is set to “jcaballer.local” and domain “jcaballer” at NETBIOS level, which contains the AD database.
After restarting the AD, log in at domain level “@jcaballer.local”.
To understand the deployment of each of the attacks, Windows Defender is disabled at the domain level with the PowerShell command:
1
Uninstall-WindowsFeature -Name Windows-Defender
The new users are created along with the specified passwords for each of the computers:
- AD:
- User: Administrator
- Password: Y7w573dbGj
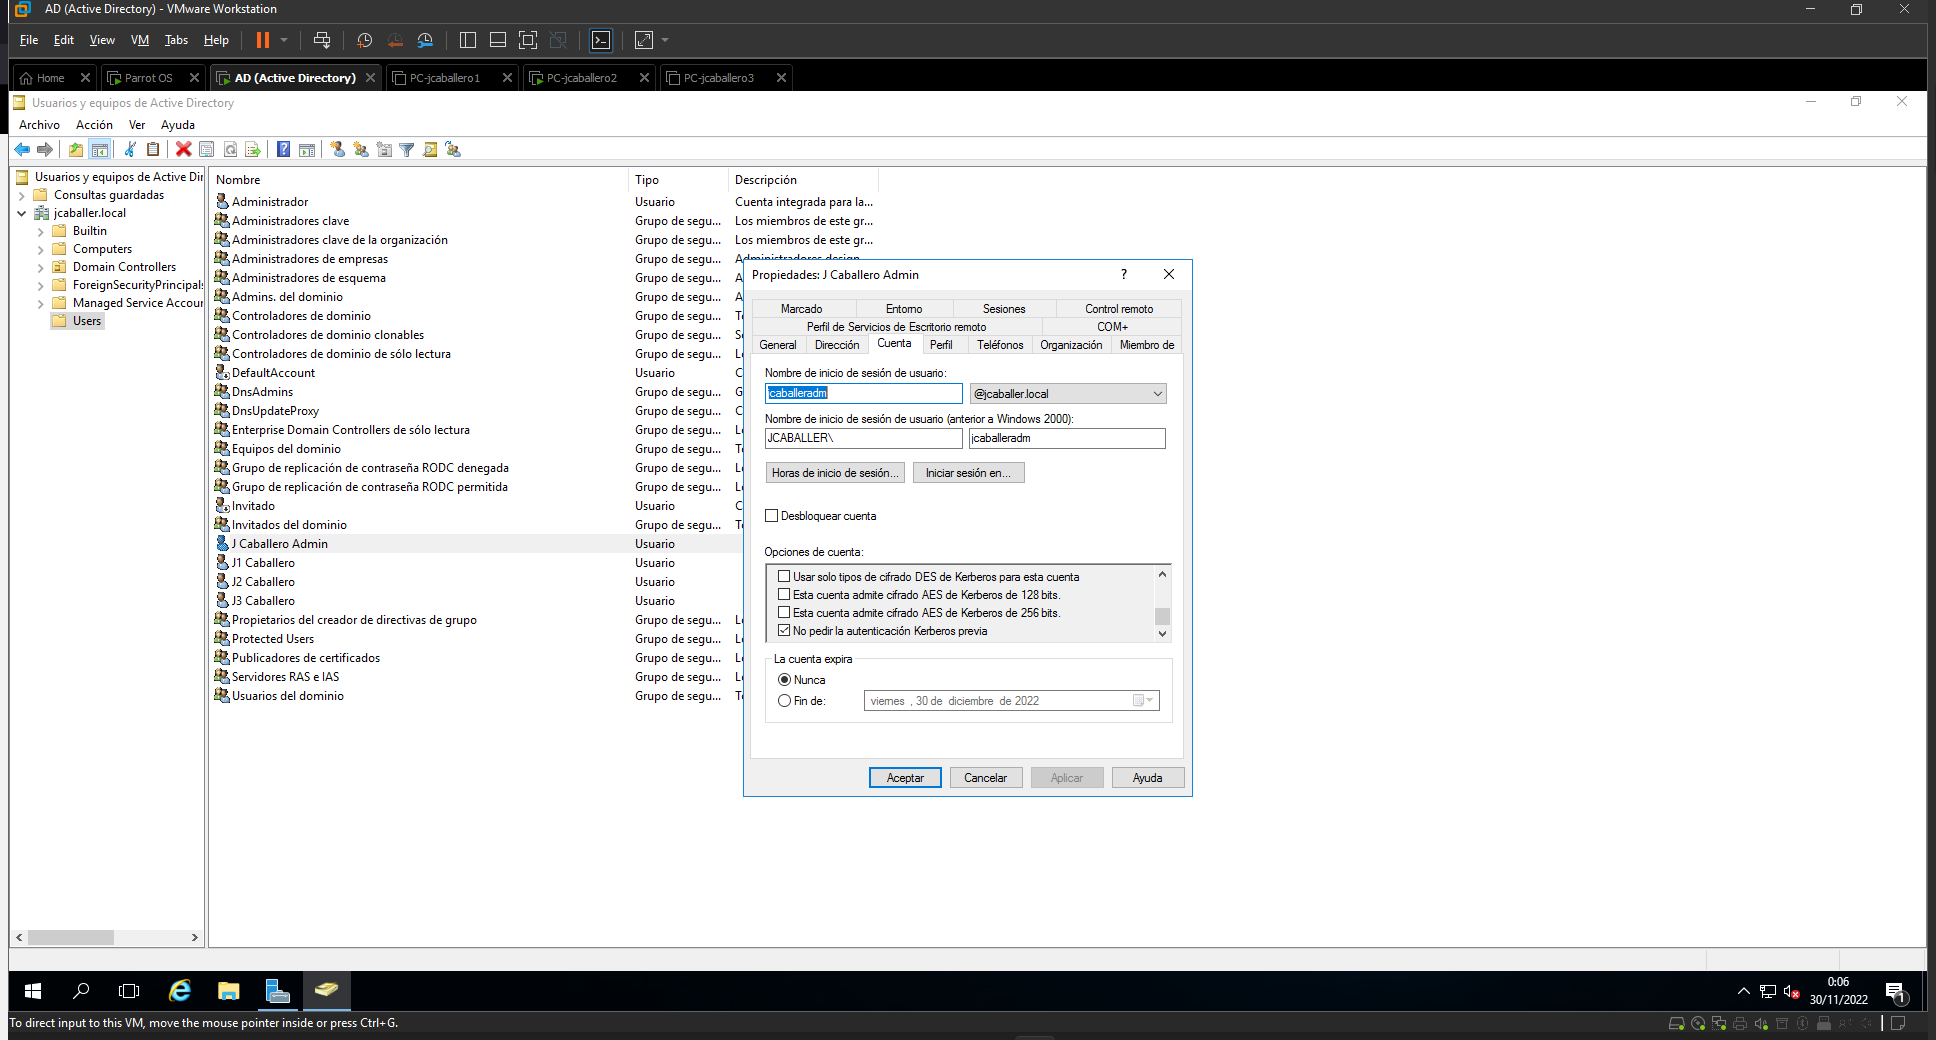
- User: jcaballeradm (administrator)
- Password: Password1.
- PC-jcaballeradm:
- User: jcaballeradm (administrator) +Password: Password1.
- Password: Passjc1.
- PC-jcaballero2:
- User Name: jcaballero1
- Password: Passjc2.
- PC-jcaballero3:
- User Name: jcaballero1
- Password: Passjc3.
Windows 10 Enterprise
With the ISO image downloaded, we will proceed to create three machines with the following characteristics:
- 2 GB of RAM.
- 2 processors, with one core per processor.
- 60 GB hard disk.
- NAT network adapter, with 192.168.140.X range.
For the configuration of the clients, the following steps have been followed:
- Names are changed to identify them on the network.
- PC-jcaballeroX”, changing the “X” for a numerical identifier.
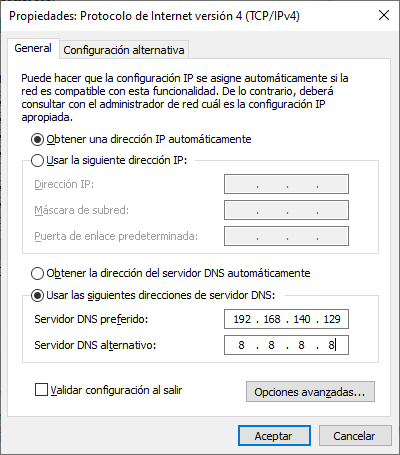
- Changes are made in the DNS configuration, by the AD’s ip, so that they can identify the AD’s domain and the connection with the Domain Controller is checked:
- Log in to the Domain Controller with your username and password, reboot the machine and log in with the AD account.
- As in the AD, disable Windows Defender and its firewall.
- The user jcaballero1 is added as administrator of the other two computers, as if he were a technician who can access these computers with privileged permissions to perform configuration or special installations.
- PC-jcaballero2
- PC-jcaballero3
- User jcaballero1 is added to the Remote Administration Users group.
- The “SeBackupPrivilege” and “SeRestorePrivilege” privilege is added to user jcaballero1.
- An unauthorised user, “jcaballeradm”, is established in Kerberos.
Pentesting Operating System
For the installation of the Parrot OS, the following steps are followed:
Download the ISO image specific to security.
- A new virtual machine is created in the hypervisor, with an identifying name, with these characteristics:
- 4 GB of Ram
- 2 processors, with one core per processor.
- 40 GB of hard disk.
- NAT network adapter, so that it uses the same network as the computers in the AD environment.
Once the machine has been started by the downloaded ISO, the file found on the desktop “Install Parrot” must be executed and the required characteristics must be established:
- Language: Spanish
- Location: Madrid
- Keyboard layout: default.
- Full disk erase.
- User: jcaballero
- Password: jcaballero
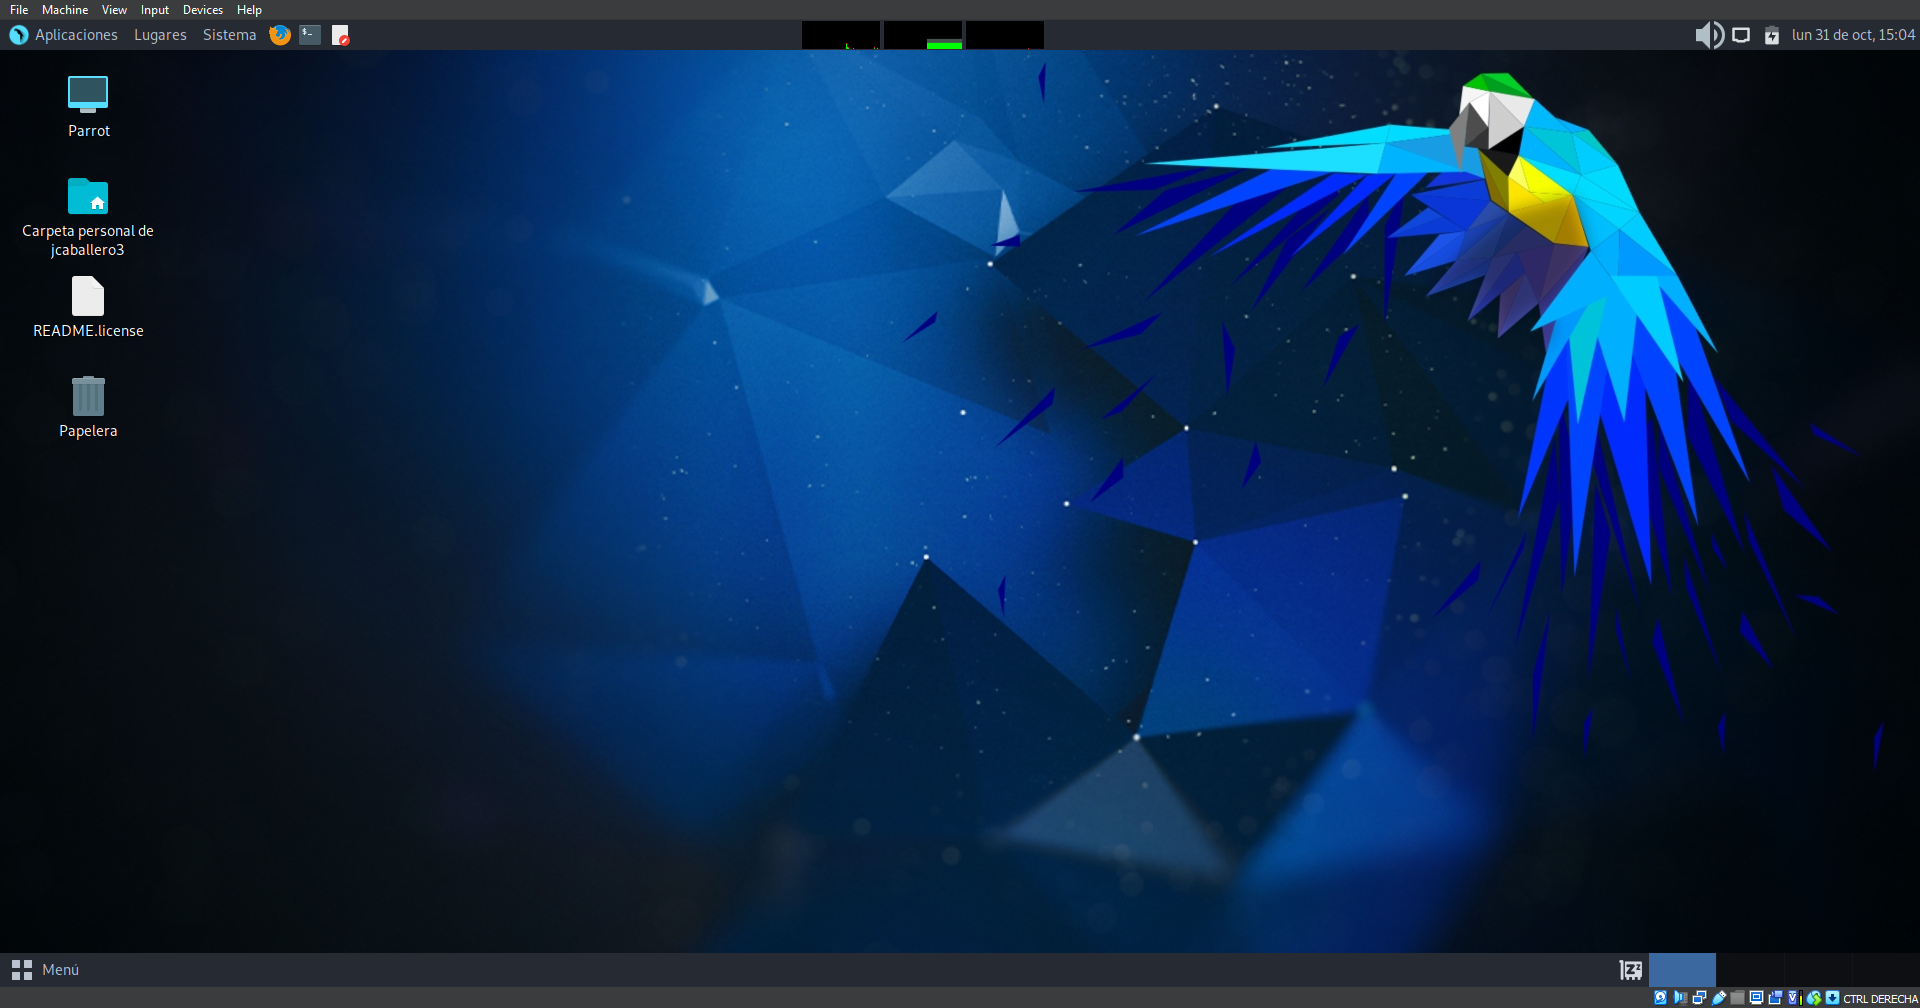
- Restarting and running the pentesting machine.
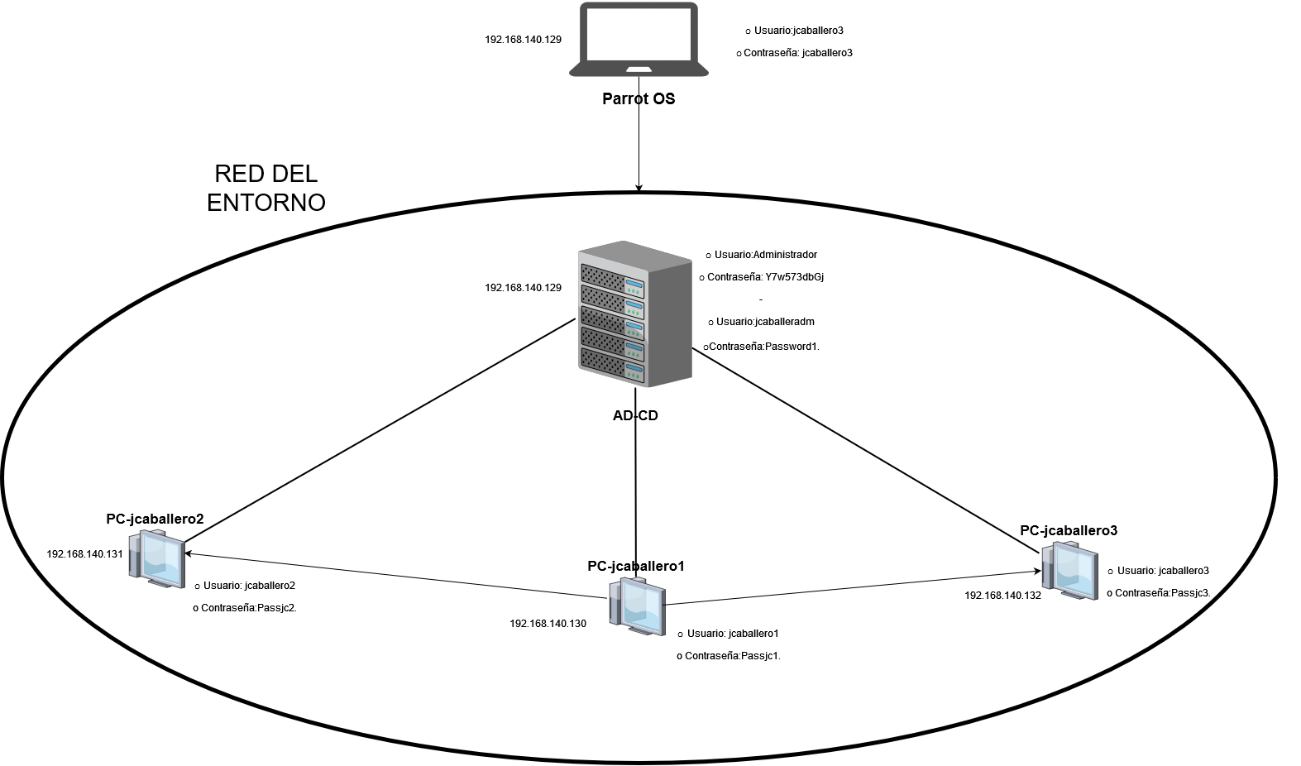
Finally the final state of the network would be as follows:
Conclusion
This would be all, in the next post we will go into the methodology to be followed by the auditor when auditing an Active Directory.
